COURTESY OF ANDREW WU
Wu shares the intriguing similarity between choosing your first camera and petting jellyfish for the first time.
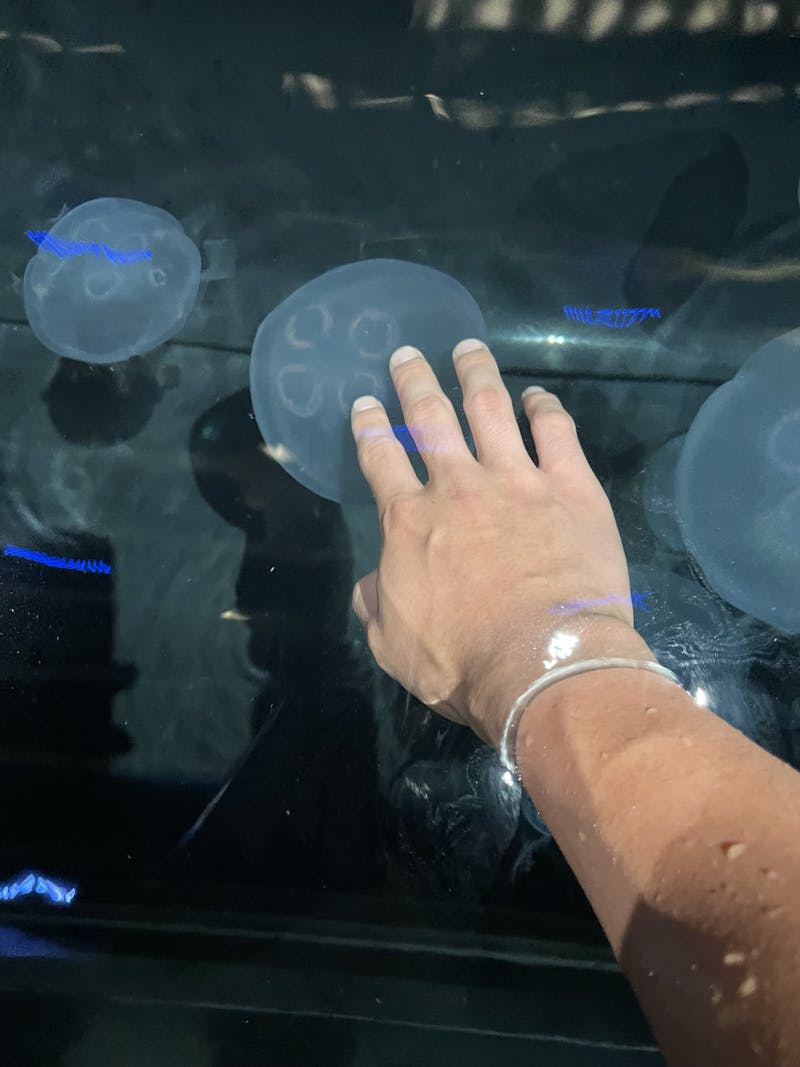
COURTESY OF ANDREW WU
Wu shares the intriguing similarity between choosing your first camera and petting jellyfish for the first time.
I like to think that investing in a camera is like petting a jellyfish. Let’s say you want to delve into photography beyond your trusty phone camera but don’t know where to start. Similarly, you might be interested in finding out what a jellyfish feels like, but you don’t know how to approach the many dilemmas. What kinds of jellyfish are best to pet? Which parts of the jellyfish should you touch? How do you ensure you gain the most enlightening jellyfish-petting experience? You might find yourself asking similar questions as you explore potential cameras. Let’s break it down.
Before you pet the jellyfish, you should know what it costs to get near the tank. Let’s be real here. Cameras are expensive. Depending on the type of camera, you might even have to spend extra on both a body and a lens. So one of the first things to consider might be your budget. Aim for a specific range, perhaps $500-750, and your options will be much more manageable.
Since old-school film photography is tedious and time-consuming to work with, you might want to start with a digital camera. The four main types are point-and-shoot, bridge, Digital Single-Lens Reflex (DSLR) and mirrorless.
Personally, the autofocus feature on my mirrorless Sony α7 III is a lifesaver when my motivation levels are too low to make manual adjustments, but I do wish I had a lens with greater zooming capabilities.
Once you’ve narrowed down the type of camera (and possibly lens) you want, it’s tempting to compare specs and chase after the “best” model, but don’t lunge immediately at the biggest jellyfish you see.
As you do your research, you might hear an amalgamation of technical terms: aperture, shutter speed, autofocus, frames per second, focal length, sensor size and more. But know that the best camera isn’t always the one with the most appealing specs. It’s the one that always has your back when you just want to go out and shoot.
That’s why I recommend physically trying out a camera before committing to it. Make sure it fits in your hand comfortably and isn’t too heavy to carry around. From my experience, Best Buy has a wide-ranging DSLR and mirrorless collection at each store, plus staff to ask questions. Even Walmart and Target often stock entry-level digital cameras and basic kits.
Now that you know which jellyfish to pet — I mean which camera you want, how do you set it up? Let’s break it down into straightforward steps for any beginner!
Unboxing:
Boot it up!
Hooray for autofocus!
Skip the hard parts (for now)
Start simple, trust what feels right to you, and let experience guide you forward. Lastly, and perhaps the most important step... have fun!
Andrew Wu is a freshman majoring in Biomedical Engineering from Northville, Mich.